
What a lovely weekend - 13 wonderful women all very creative and ooh - country hospitality. I put back on one of the kilos I had taken off. I also had a very hospitable host in Tania - thank you - flannelette sheets I have not had on a bed since we left NZ. I also took my pop up shop which was well received.
We played with all sorts of things - at the top is a Qantas serviette - yes I still have plenty to share.
 I
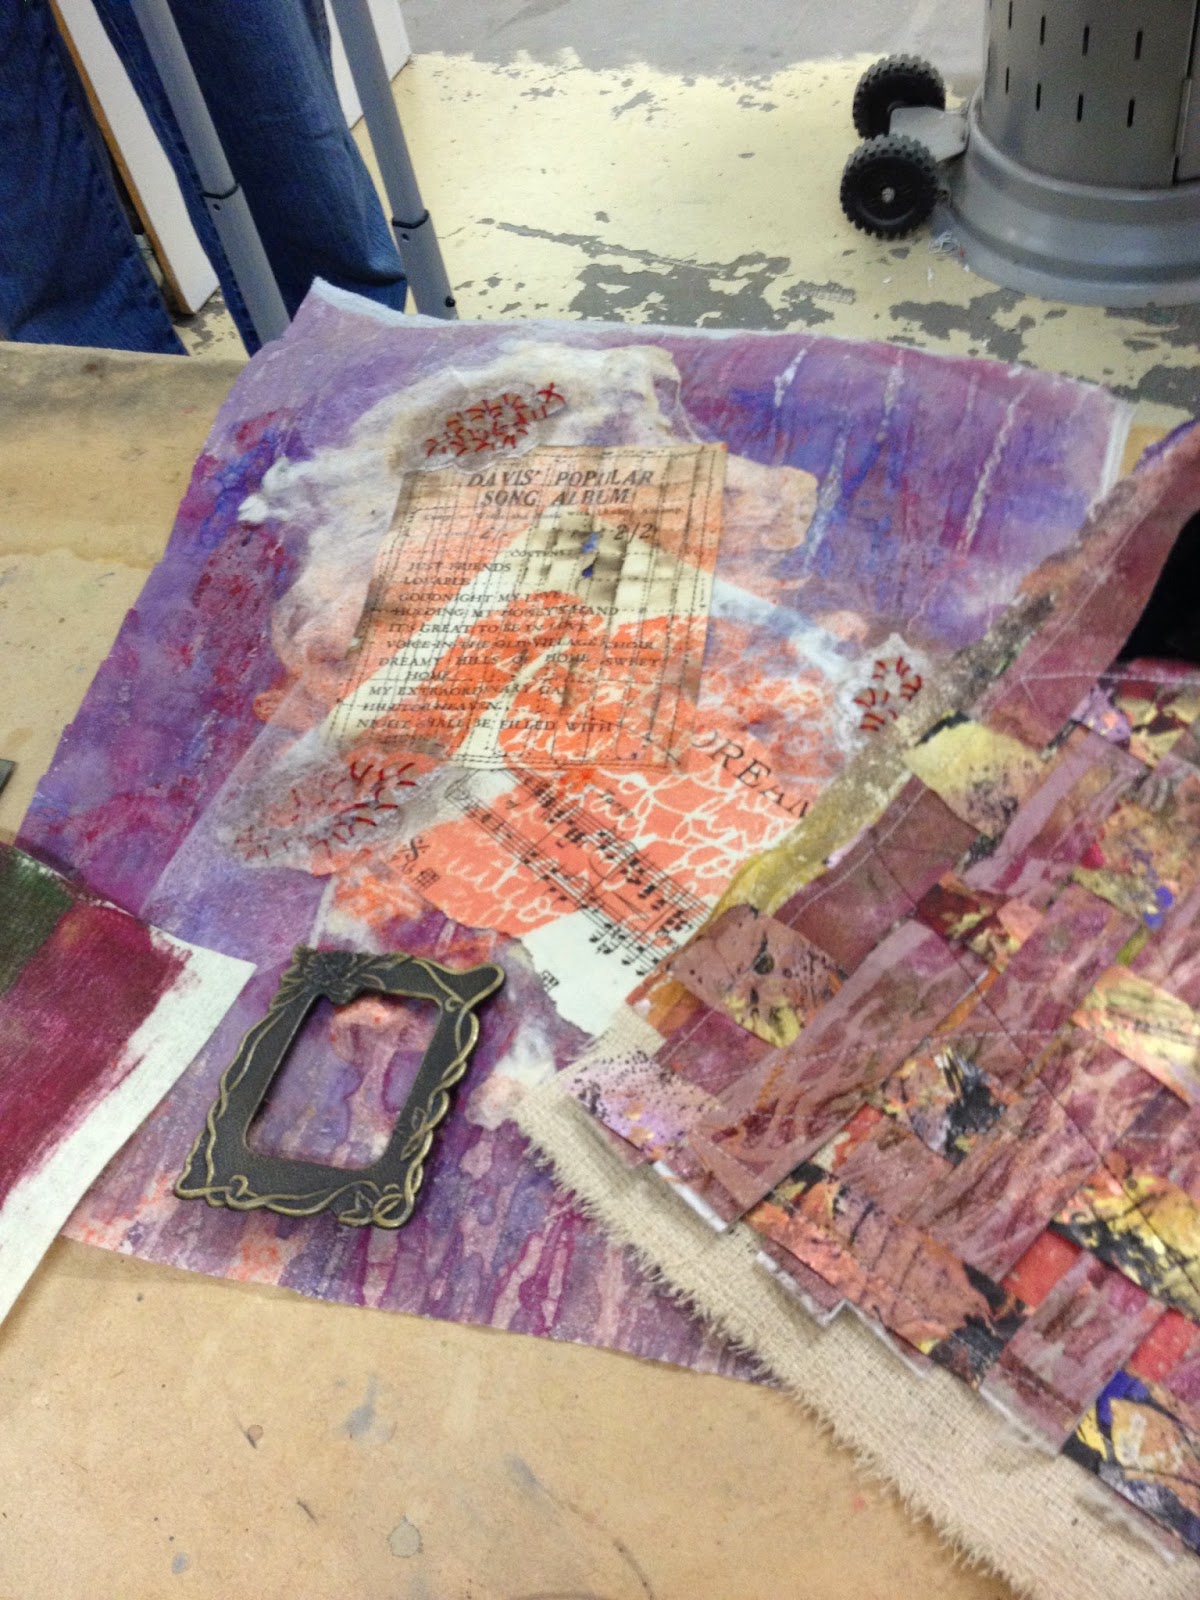
II haven't names for the owners of each piece but it is always amazing to see what people come up with and the beauty of running a workshop is that I learn new things and come home with ideas to try out. Here is aome wonderful weaving (something dear to my creative heart) - I love the colours she has used.


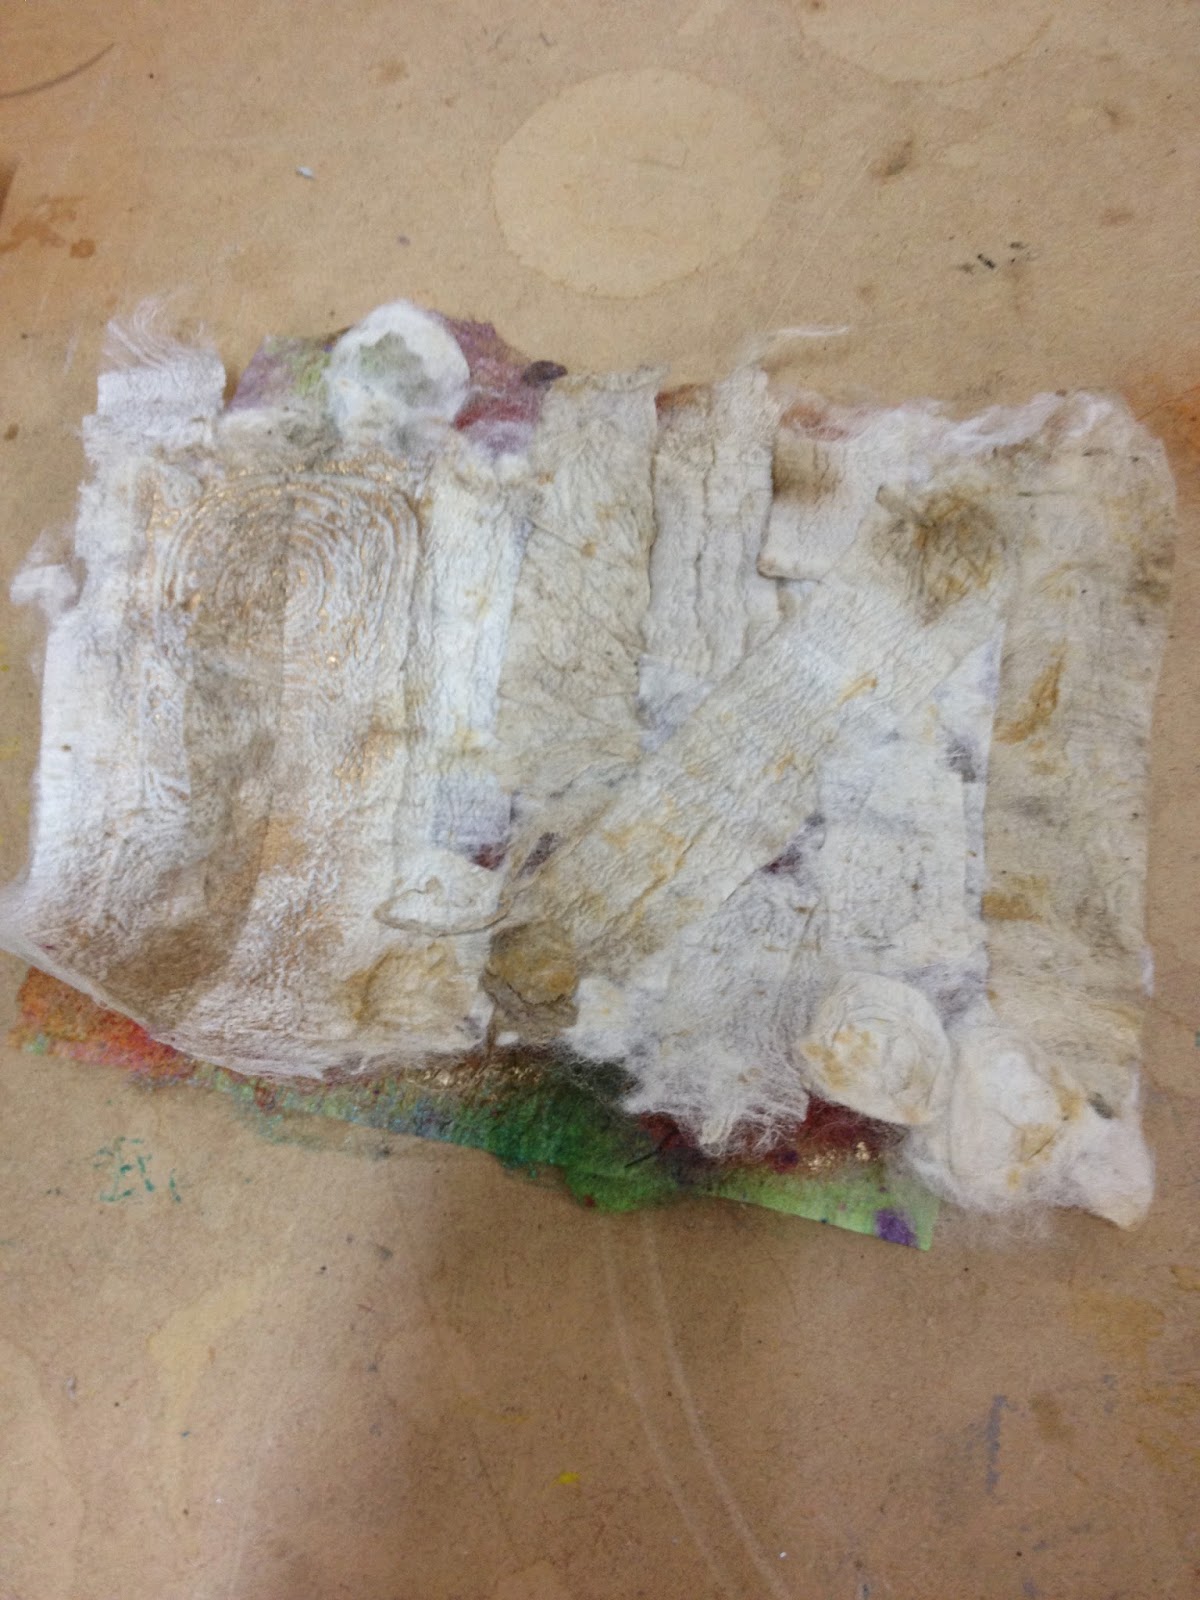
making some little felt


As you can see they were pretty productive. I drove back on Sunday night in time for a glass of wine but not dinner - never mind I had eaten far more than I should have over the weekend. Thank you so much to the lovely Lake Grace and surrounding - ladies for a wonderful weekend.
This week we have been working on the e-mag - Issue 5 is getting closer - it has been raining a lot and quite cold - I watched the replay of the All Blacks versus England game and am looking forward to today's game. And i am putting my stuff away - gathering my stuff for my trip to Rockhampton next Friday where I am so lucky to have been asked to be a guest artist - I shall be playing away on an embellisher and with my flower stitcher. I have also purchased a new suitcase extra so I am bringing two suitcases - not sure what to take as yet!
I also want to thank Felicity from Norseman who sent me some fab Japanese papers for my upcoming project. You didn't give me your address so I could send you some threads!
okay - back to work.


